1) We should install google-cloud-storage package to access Google Cloud storage in our Python program.
Just run the following pip install command to install google-cloud-storage
pip install google-cloud-storage
2) The first thing to do to access GCS from your Python program is authentication.
We'll create a credentials JSON file and use it for authentication.
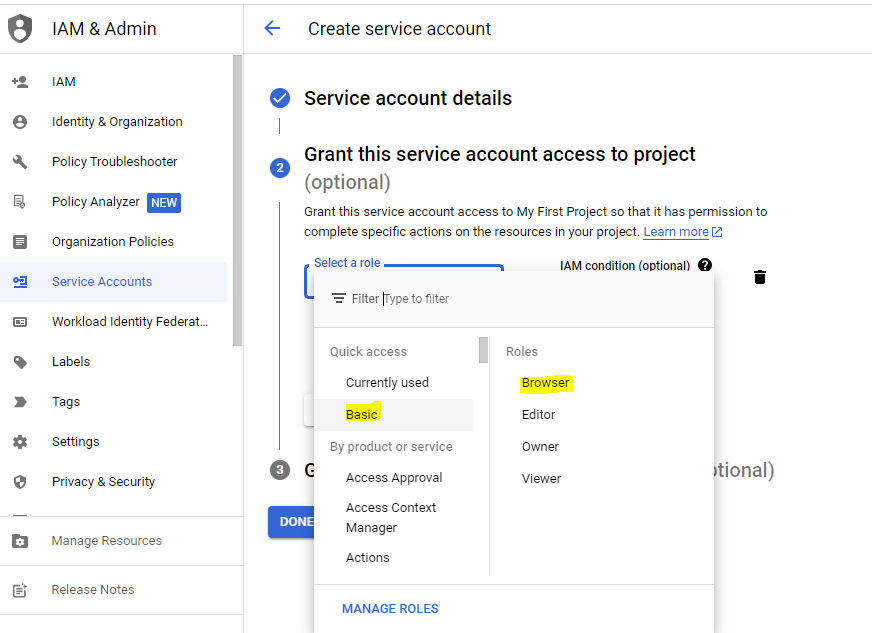
You can generate your own credentials JSON file using this link
Generate credentials JSON file
You can also follow this link to generate JSON file.
http://www.hadooplessons.info/2023/03/simple-way-to-generate-json-key-for.html
3)
Here are the crucial steps to write a Python program for accessing GCS:
create a client
client = storage.Client()
get access to the existing bucket in GCS
bucket = client.get_bucket(bucket_name)
create file in the gcs bucket and write data into it.
blob = bucket.blob(file_name)
blob.upload_from_string(text)
The full code is given below.
from google.cloud import storage
import os
#from google.oauth2 import service_account
os.environ["GOOGLE_APPLICATION_CREDENTIALS"] = "application_default_credentials.json"
#credentials=service_account.Credentials.from_service_account_file('./application_default_credentials.json')
def list_gcs_blobs(project_id,bucket_id):
client = storage.Client(project=project_id)
blobs=client.list_blobs(bucket_id)
return blobs
project_id='startbig'
bucket_id='pubtest1'
blobs=list_gcs_blobs(project_id,bucket_id=bucket_id)
for blob in blobs:
print('blob name is',blob)
Modify project_id,bucket_id and run the program. Please note you need to keep credentials JSON file in the same directory this program is written otherwise change the path in os.environ line.